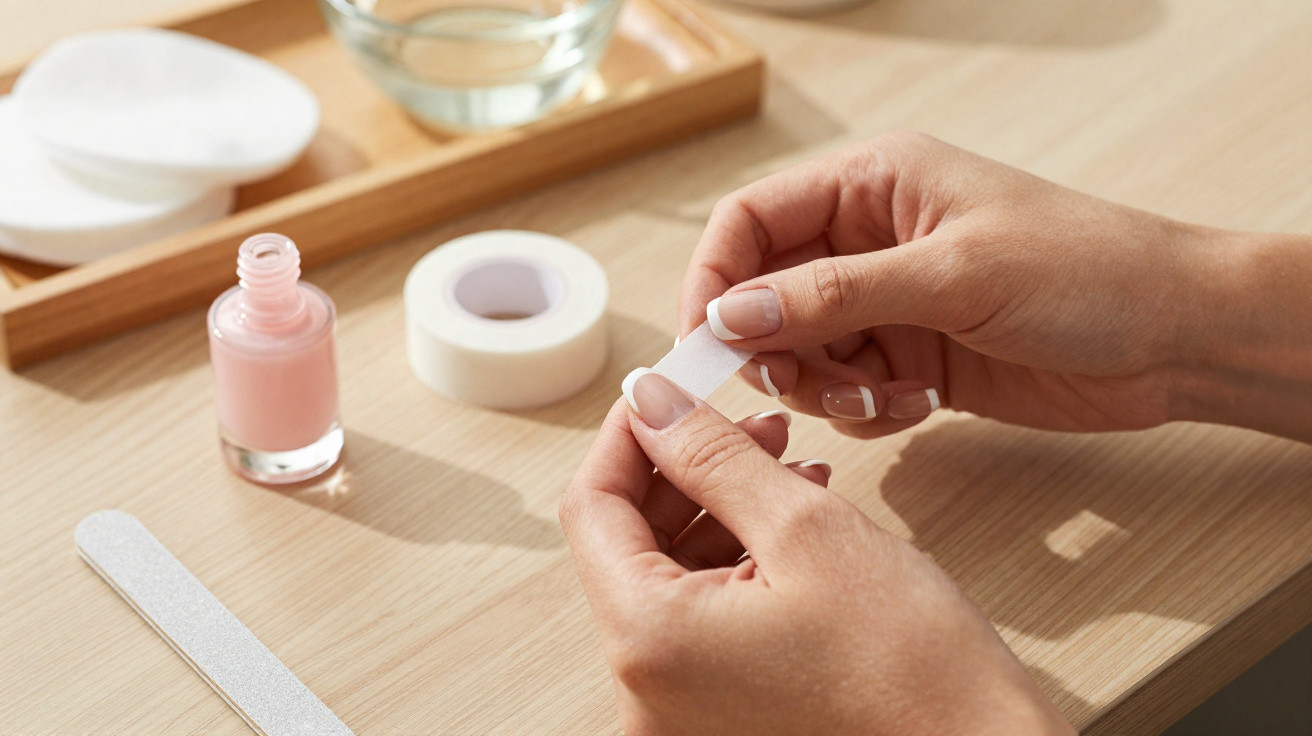
A French manicure with adhesive tape is an easy technique for producing a crisp white nail tip, even if you do not own a fine brush or have much experience. The tape acts as a guide, marking the area where the white polish should go while shielding the rest of the nail. Success relies on applying it without gaps, using only a small amount of polish on the brush and removing the tape at the right time to prevent smudging.
Why does adhesive tape help with a French manicure?
Tape forms a physical divide between the nail base and the tip that will be painted white. This keeps the line from becoming uneven, especially when working with your non-dominant hand, which usually offers less brush control.
This technique works best once the nude, pink or clear base colour has dried completely. If the tape touches polish that is still wet, it may pull away the lower layer and leave marks before the white tip has even been painted.
How should you position tape for each nail shape?
Placement varies according to the nail shape. On square nails, the tape can be placed almost straight, following the free edge. For rounded, oval or almond-shaped nails, gently curve the tape to create the French manicure’s “smile line”.
Before applying polish, check the following:
- Press down the sides of the tape firmly so that polish cannot seep underneath.
- Leave the desired width of the nail tip exposed for the French manicure.
- Choose a narrow strip for short nails and a broader curve for long nails.
- Reduce some of the tape’s stickiness against your skin before placing it on the nail.
- Work on one nail at a time for greater control over painting and removal.
What is the step-by-step method for doing it at home?
First, file your nails into the preferred shape, push back or moisturise the cuticles, and apply one coat of base coat. Next, paint on your chosen sheer polish and allow it to dry thoroughly before applying the tape.
Once the guide is securely in place, paint the tip with white polish, keeping only a little product on the brush. A thin coat is preferable to a thick one because it dries faster and lowers the chance of creating a raised edge along the French manicure line.
How can you remove the tape without smudging the polish?
Remove the tape carefully by pulling it at a low angle from one side to the other. Ideally, take it off while the white polish has just been applied but is no longer saturated, so the edge neither tears nor creates strings.
To prevent marks, follow this order:
- Paint the tip with a thin coat of white polish.
- Wait a few seconds for any excess to settle.
- Slowly pull away the tape rather than lifting it off in one motion.
- Correct minor imperfections with an orange stick and cotton wool dipped in remover.
- Let the tip set before applying top coat.
How do you achieve a salon-quality finish?
The final result depends less on skill than on patience between coats. The base must be dry, the tape needs to adhere without bubbles, and the white polish should be used sparingly to keep the tip sharply defined.
Finish with a coat of high-shine polish or top coat, also covering the nail’s free edge to seal the French manicure. With correctly positioned tape, slow removal and a thin layer of polish, the French manicure achieves a clean line, even shine and polished appearance without the need for a stamping tool, specialist sticker or professional brush.
















Comments
No comments yet. Be the first to comment!
Leave a Comment