The woman in the coffee shop had the sort of skin that makes you curious about her skincare routine, glowing softly beneath the yellow lighting.
Her hair was gathered into an easy, loose bun, and she wore tiny, understated earrings. Her whole appearance said “effortless” – until you noticed her eyebrows. They were two dark, rigid, square-ended shapes: deeper in colour than her hair and sharper than her eyeliner flicks.
The contrast became more striking whenever she glanced down at her phone. Every other feature of her face shifted, but her brows stayed fixed. You could practically picture the painstaking YouTube tutorial behind them: all that outlining, filling and perfecting.
Yet the finished effect looked oddly cross, like a permanent, silent scowl she had never intended to take out into the world.
One small product habit was letting down her entire face.
The harsh-brow trap nobody talks about
One eyebrow product error can quietly spoil otherwise lovely makeup: applying one intensely pigmented product in exactly the same way from the front of the brow right through to the tail. There is no pause, no fade and no gradient – only one uninterrupted block of colour.
It most often happens with pomade or a very precise pencil. People begin at the inner brow, use too much pressure and map out a neat rectangle. They then fill in the entire brow with the same tone and intensity, continuing all the way to the tail.
The finished brow looks less like soft hair and more like marker pen. It is bold, obviously made-up and a little severe, both in photographs and face to face.
Look around on a packed morning train and you will soon notice them: brows that do not suit the softness of the wearer’s cheeks or lips, creating expressions that appear tougher than they are likely to feel.
A UK survey by a leading beauty retailer found that brows rank among the three “most stressful” stages of applying makeup, alongside eyeliner and matching foundation shades. The pressure feels understandable: brows shape the face, and when they look wrong, your entire reflection can feel wrong too.
That is why people hold on to techniques that seem dependable: drawing too much, filling too heavily and defining too precisely. A sharp outline gives an immediate feeling of control, particularly when you are disguising sparse areas or the results of an old waxing mishap. You can see the shape, and it feels manageable.
The catch is that a crisp, dense outline can deceive you in the mirror. Under indoor lights and viewed up close, it may look “snatched”. But in daylight, or in an unplanned photograph, it can suddenly appear painted on. All the natural softness is gone.
Brows consist of individual hairs: they are naturally lighter at the front, fuller around the arch and finer at the tail. When product removes those differences, the brain registers the brow as artificial. You might not know what is wrong; you simply think, “Something feels off.”
A solid wash of colour also takes away dimension. Without a gradient, there is no suggestion of light or shadow. Facial expression depends on tiny movements around the brow area – slightly lifted inner corners or a subtle tightening at the arch. A heavy, even fill can dampen those micro-movements, which is why strongly drawn brows can sometimes look “stuck”.
Makeup artists often describe brows as a frame for the eyes, but they frame your mood as well. If that frame is too strong, it begins to demand more attention than the face within it. This is how one product habit can make a soft face look unintentionally stern.
How to get soft, natural brows without starting from zero
You do not need to buy six new eyebrow products. The answer begins with adjusting where and how you apply the product you already own. Think “whisper” at the brow front, “conversation” through the centre and “gentle full stop” at the tail.
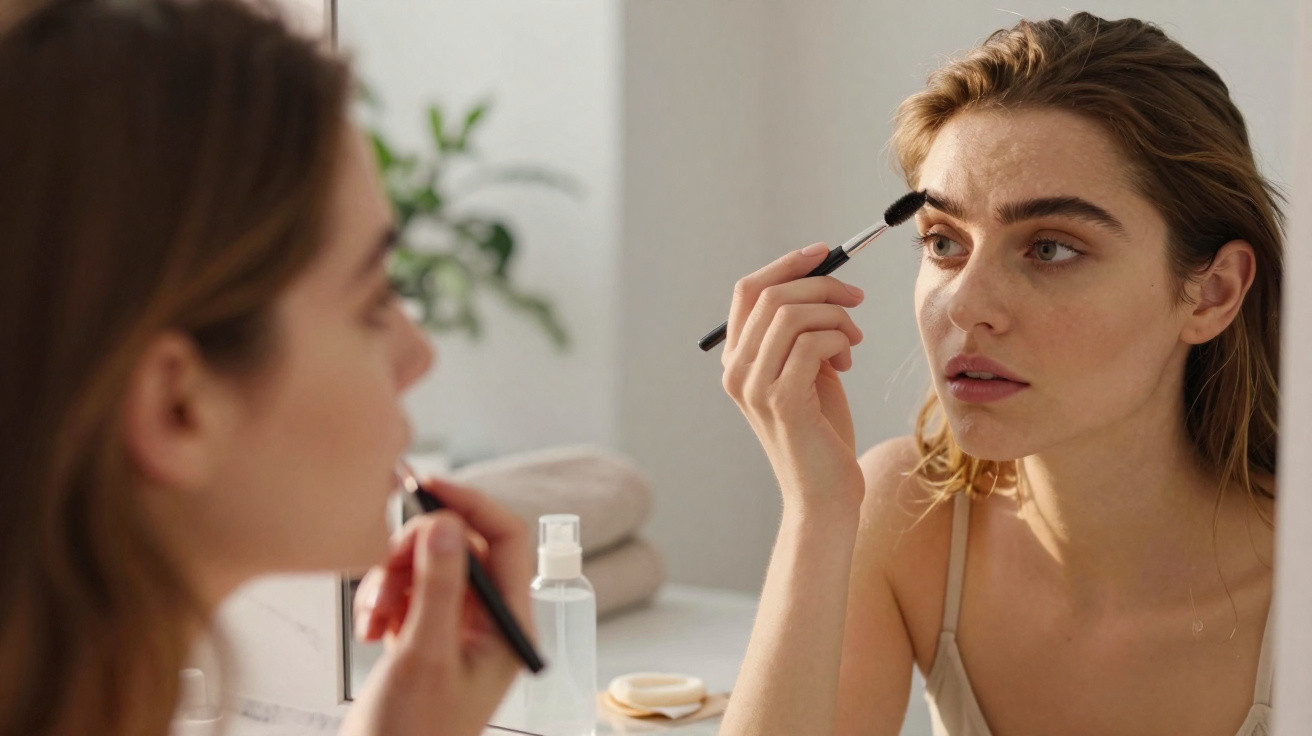
First, brush the brow hairs upwards and outwards with a spoolie so that you can see your genuine shape. Then leave the very front alone for the moment. This is where people most commonly apply too much product and create a harsh, squared-off beginning.
Start making strokes roughly one-third of the way along the brow, around the arch. Keep the movements light and sketchy, as though you are adding hairs rather than colouring in a shape. Once the middle and tail have been softly defined, use the residual product on your brush or pencil to flick a few barely visible strokes at the front.
Here comes the honest part: no one gets up thrilled at the prospect of blending their brows for 20 minutes at 7 a.m. Let’s be honest: nobody truly does that every day. The technique therefore needs to be quick as well as forgiving.
If pomade or a highly pigmented pencil is your favourite, there is no need to give it up. Simply use a clean spoolie alongside it as a “softener”. As soon as you have filled your brow, brush through the product in upward strokes. This disrupts sharp lines and allows a little skin to show through, immediately making the result look more natural.
Tinted brow gel is the low-effort hero here. On days when you cannot be bothered, sweep it through bare brows, paying particular attention to the tail. On full-glam days, use it last to restore texture, so your brows still resemble hairs rather than ink.
One other subtle adjustment helps: if you are brunette, choose a brow shade half a tone lighter than your hair. If your hair is very blonde or grey, choose a shade one tone deeper. That small change softens the whole effect.
“Brows should look like they grew there, not like they were delivered by courier,” laughs London-based makeup artist Jo Martin. “When I correct harsh brows, I don’t remove product, I just move it. I fade the front, soften the bottom line, and suddenly the face relaxes.”
Once you begin seeing the “block brow” mistake, it becomes difficult to overlook. Still, no one who does it is foolish or uninformed. Most people are following the logic taught in tutorials: outline, fill, perfect. The internet seldom stops to say, “By the way, your real brow hair pattern matters more than my step-by-step.”
On hurried mornings, when your hand automatically reaches for the product, keep this brief checklist in mind:
- Have I kept the very front of the brow softer than the rest?
- Have I brushed through the product afterwards to soften any harsh lines?
- Is the lower brow line lightly diffused rather than perfectly ruler-straight?
- Can I still see separate hairs, or is there only solid colour?
- Does the brow colour suit the softness of my hair and lashes?
The brows you want are probably closer than you think
Something amusing often happens when a person softens their brows for the first time. They can feel “undone”, almost bare. The mirror reflects a lighter, more open expression, but the mind misses the drama of the old, bolder shape.
Give it a week. Wear the softer brow in everyday settings – at work, on the school run and in selfies you have no intention of posting. Check your face in different lighting: the bathroom, car, changing room and on your front camera beneath a cloudy sky. That’s where the difference truly shows.
After you have adjusted to that gentler gradient, the old approach can suddenly look unexpectedly severe. Brows that once seemed “perfect” may start to look as though they belong to somebody playing a character, rather than to you on an ordinary Tuesday.
Eyebrow trends will continue to swing from ultra-skinny to laminated and fluffy, and from glazed to goth. The rule behind a natural-looking brow, however, hardly changes: keep the front lighter, build depth through the arch and maintain softness around the edges.
The biggest mistake that makes arches appear harsh is not the product itself. It is treating the whole brow as though it were a colouring-book outline.
The more you approach it as a living, breathing collection of tiny hairs, the less work you will actually need to do.
| Key point | Detail | Why it matters to the reader |
|---|---|---|
| Avoid a uniform block | Do not use identical pressure or colour intensity from the beginning to the end of the brow | Reduces the “brows drawn with marker pen” effect in photographs and natural light |
| Begin one-third of the way along the brow | Start strokes around the arch, then return towards the front using very little product | Creates a natural gradient that softens the eyes without losing definition |
| Use the spoolie as an eraser | Brush upwards after application to break up hard lines | Lets you keep your favourite product while achieving a lighter, more realistic finish |







Comments
No comments yet. Be the first to comment!
Leave a Comment