The moment often happens in front of the mirror. The lighting feels slightly unforgiving, the bathroom seems unusually silent, and there they are: silver roots returning more quickly than your latest online delivery. You angle your head, tug at a section and narrow your eyes. Your lengths remain chestnut, copper or “chocolate 5.3” from the box. Yet at the scalp sits a distinct divide: two shades that have nothing in common.
You could cover them again. You could arrange another “urgent roots” appointment. Or perhaps that quiet but persistent question starts to surface: what if you simply stopped? Grey hair looks beautiful on other people, doesn’t it?
This is precisely where reverse coloring comes in - discreetly, almost without fanfare.
Why reverse coloring is changing the game after 50
From about the age of 50, hair can be brutally honest: it no longer pretends. Pigment fades, texture shifts and the familiar “root regrowth effect” can suddenly take centre stage. Full-head colouring that looked immaculate at 35 may begin to require an almost military maintenance routine. Every three weeks, that white line returns - like an unwanted calendar notification.
Reverse coloring is based on one straightforward principle. Rather than battling a grey or white base, you allow it to remain and colour… the lengths. Not the roots. That apparently minor change can transform the whole approach.
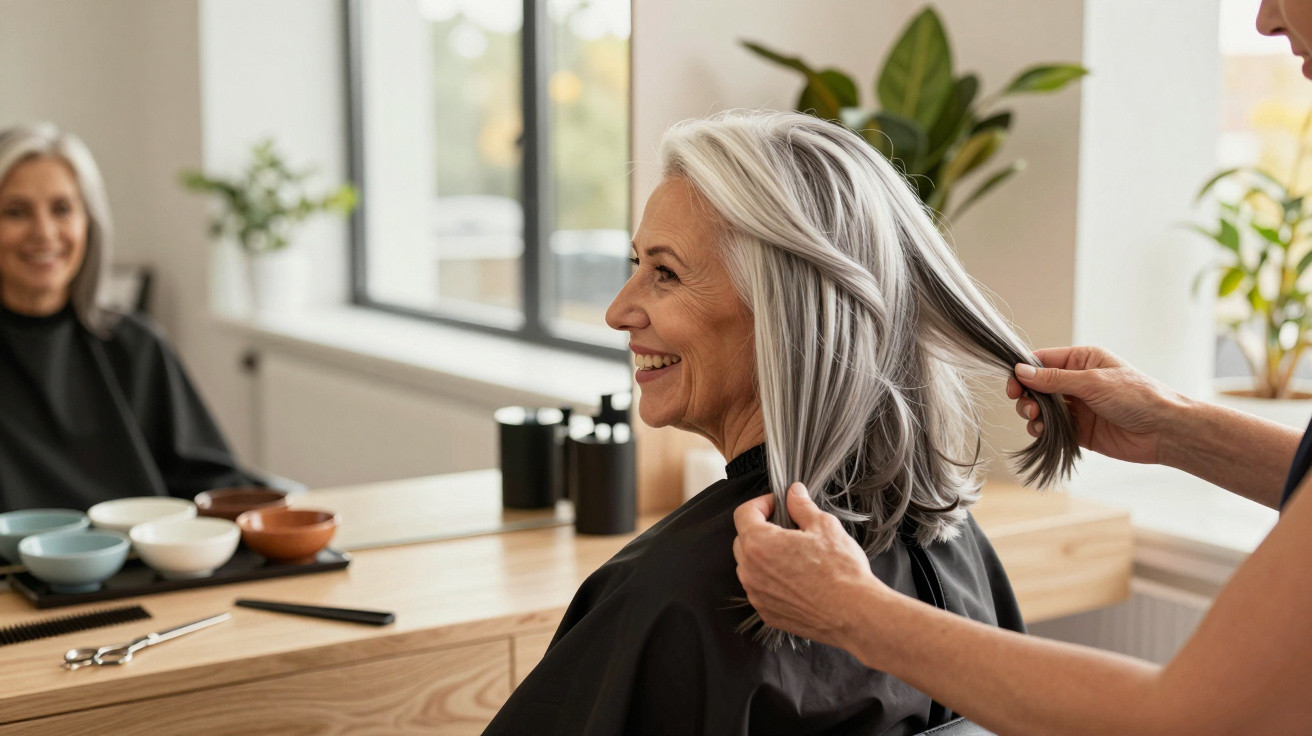
Consider Marie, 57. For a decade, she pursued her roots relentlessly: salon appointments, at-home kits and rushed touch-ups before going out for dinner. Her hairline was always a little darker than the rest, slightly too opaque, almost like a painted band. Then her hairdresser proposed the reverse approach: stop concealing the roots. Make her natural white the foundation, then add gentle cool highlights and lowlights solely through the mid-lengths and ends.
Her transition took place gradually across six months. People began telling her, “You look rested”, “Did you change your skincare?” Nobody mentioned her hair. Regrowth simply stopped being part of the conversation. Instead of a harsh boundary, the eye saw light.
The reasoning is nearly mathematical. With reverse coloring, the palest section sits at the roots - the very place where the hair grows from. Colour is softly intensified down the lengths with translucent shades slightly deeper than your grey. The brain interprets this as natural.
There is no longer a sharp “helmet” line, because the scalp is no longer being made darker than the hair beneath it. Your base becomes an ally: a bright canvas. Instead of camouflaging maturity, reverse coloring organizes it in a pretty way.
How to do reverse coloring without damaging your hair
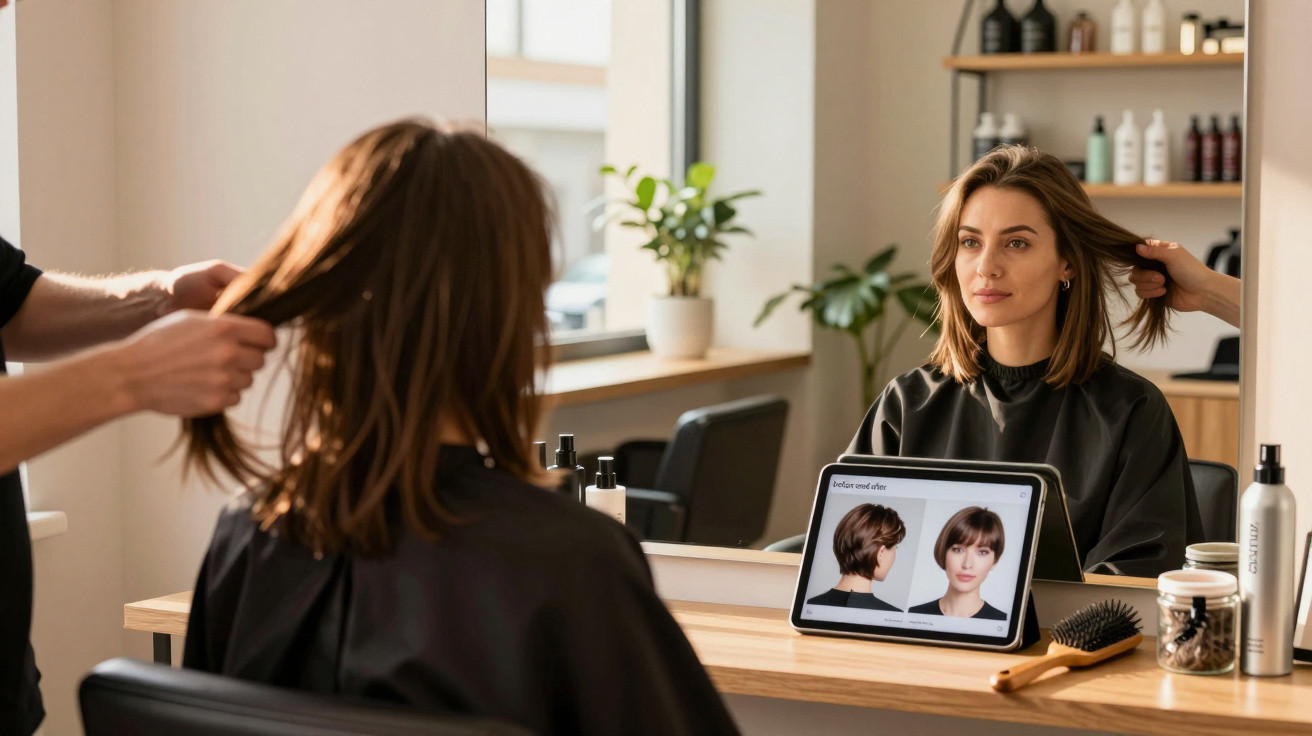
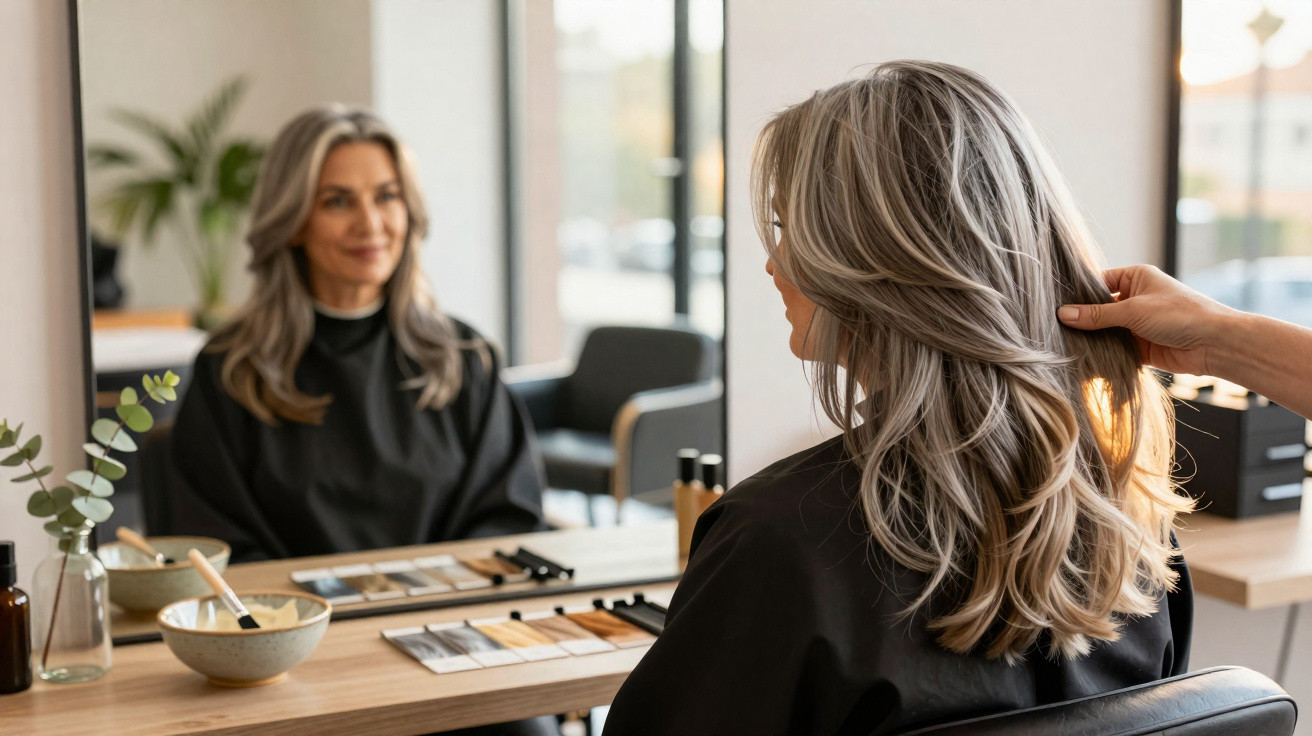
The first step is always identical: leave the roots alone. Do this for at least two or three months. Allow a substantial band of grey or white to come through, even if it feels a little uncomfortable when your hair is tied back. A colourist needs this genuine base to work from. Instead of putting on one all-over shade, they then apply tones only to the lengths.
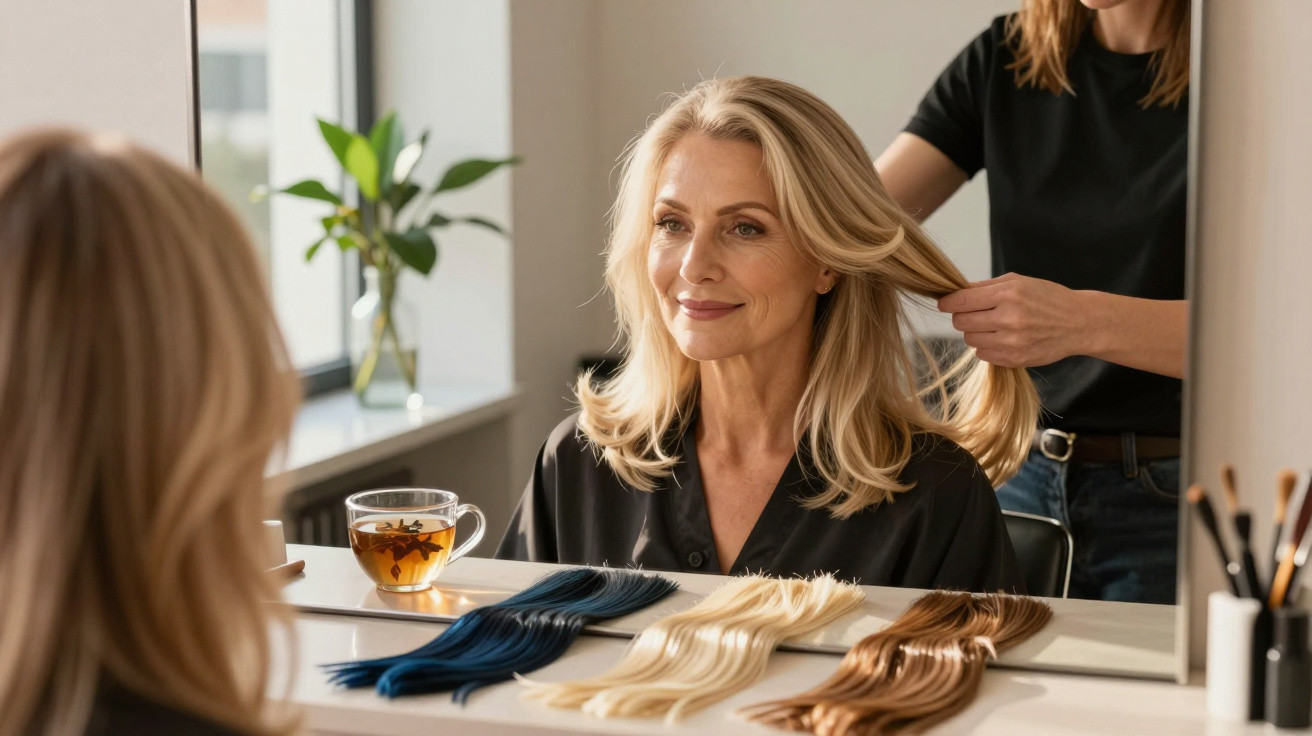
The selected colours are generally semi-permanent, translucent or “gloss” formulations. Depending on your natural base, picture sheer washes of beige, pearl, sand or very soft taupe. The intention is to soften the contrast rather than remove it altogether. The roots remain untouched, luminous and full of life.
The main mistake is trying to move too quickly: requesting to “go gray” in one salon visit, or demanding that every trace of old dye be removed during a single stripping session. That is when breakage, straw-like texture and regret tend to appear. A skilled professional will suggest a plan spanning several appointments, not a miracle solution.
There is also a tendency to over-pigment the lengths, particularly among people who are frightened of “looking old.” This can make facial features appear harsher. A gentler method relies on softness: transparent shades, delicate strands and a slightly cooler colour around the face to brighten the complexion. We’ve all been there, that moment when the fear of aging pushes us into choices that age us even more.
“Reverse coloring is like dialling down the volume of color instead of turning it off,” explains Ana, a colorist who sees more and more women over 50 asking for it. “We respect the gray at the root, we play with light on the rest. It looks less ‘done’, more expensive, more free.”
- Begin with a consultation centred on your true base colour and skin tone.
- Schedule the transition over 3–6 months rather than making one radical change in a single visit.
- Request translucent, glossy colours rather than dense, opaque dyes on the lengths.
- Leave the roots natural and bright, treating only the mid-lengths and ends.
- Revive the tones every 8–12 weeks without colouring the scalp.
Living with reverse coloring: greater freedom, less drama
After reverse coloring has been established, everyday life shifts in small but tangible ways. The bathroom shelf clears out: no more emergency root kits tucked beside the cotton pads. Salon appointments become less frequent, moving from every 3–4 weeks to every 8–10. The mirror no longer shouts “regrowth!”; instead, it shows hair changing at its own speed.
Your relationship with ageing may become gentler too. You are not necessarily “embracing gray” through a dramatic, Instagram-ready statement. You are working with it. Reducing the contrast. Making room for light, shade and variation. Let’s be honest: nobody really does this every single day, but you may notice yourself running your fingers through your hair more often, appreciating how the white reflects sunlight rather than trying to conceal it.
For some people, this newfound room leads to further changes: a lighter haircut, a fringe grazing the eyebrows, glasses with a more striking frame or lipstick that is half a shade brighter. Hair is no longer a battlefield; it becomes a place to play again.
| Key point | Detail | Value for the reader |
|---|---|---|
| Reverse the logic of color | Natural gray/white at the roots, soft shades on the lengths only | Eliminates the “root regrowth effect” without full-on going gray |
| Transition in stages | Plan 3–6 months with glosses, highlights, and cut adjustments | Smoother change, less damage, fewer regrets |
| Softer, translucent tones | Beige, pearl, sand, or taupe veils instead of opaque dyes | Visibly rejuvenates, brightens the complexion, keeps hair texture supple |









Comments
No comments yet. Be the first to comment!
Leave a Comment