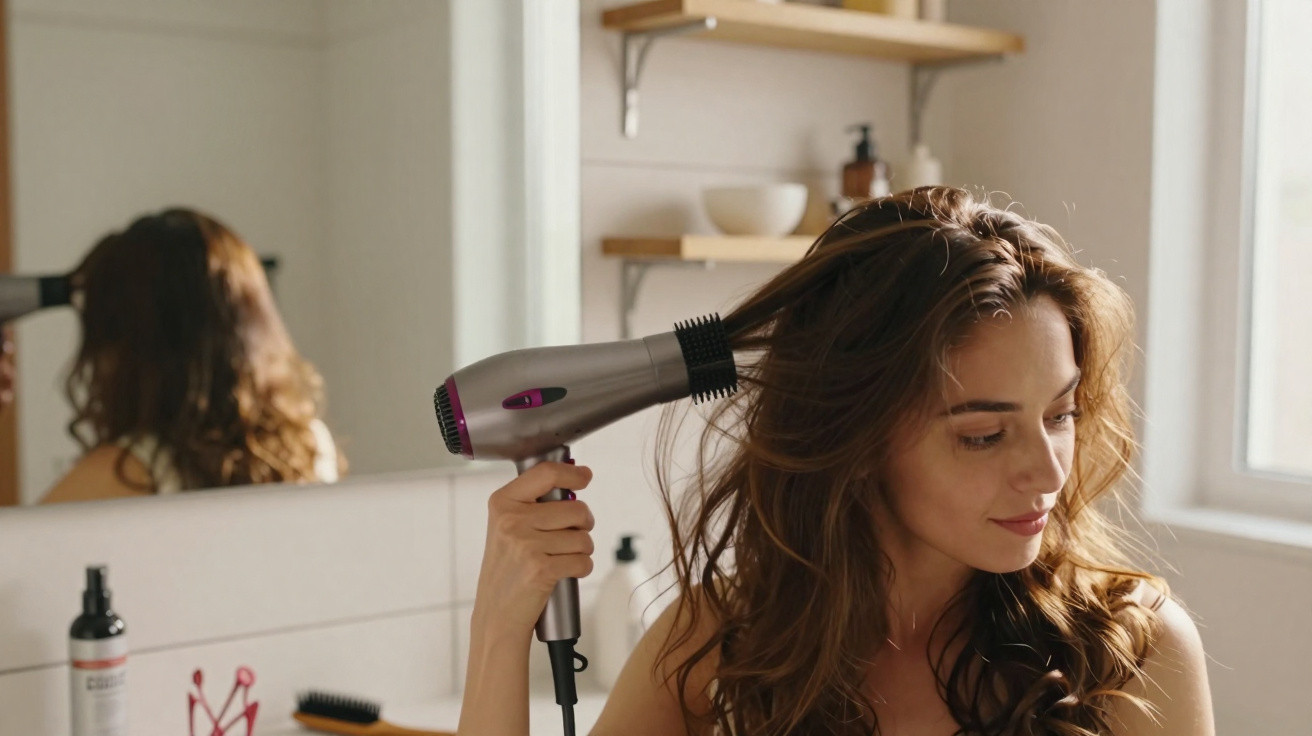
Her roots are plastered to her scalp, the lengths are impeccably sleek and the smile is entirely forced. She tips her head, unleashes one final brave burst of hairspray over the crown… then sees it all sink again within an hour. The frustrating part is that the more product she applies, the flatter her roots appear to become.
For countless people, that little patch at the top of the head has turned into an unspoken battleground. Video calls, lift selfies and unexpected brunch pictures: the crown is always on display, quietly revealing when we are exhausted, stressed or simply feeling “off”. Instagram’s immaculate blow-dries hardly help matters.
Yet there is a more understated way to raise that section. It begins at the roots rather than inside a can of hairspray. What matters is how you use your dryer during the first five minutes, and one slightly unexpected technique can make all the difference.
Why your crown keeps falling flat - and what salons rarely explain
The crown is a particularly awkward area. Hair grows in several directions there, circles around cowlicks and naturally sits close to the scalp. When you aim hot air downwards from above, you are effectively pressing it flat against your head.
Most of us have learned to direct the dryer downwards to create “smoothness”. That approach works well on the lengths, but at the crown it flattens whatever natural lift you have. The outcome is the annoying helmet effect: glossy ends, roots stuck to the scalp and a noticeable parting that appears to broaden as the day goes on.
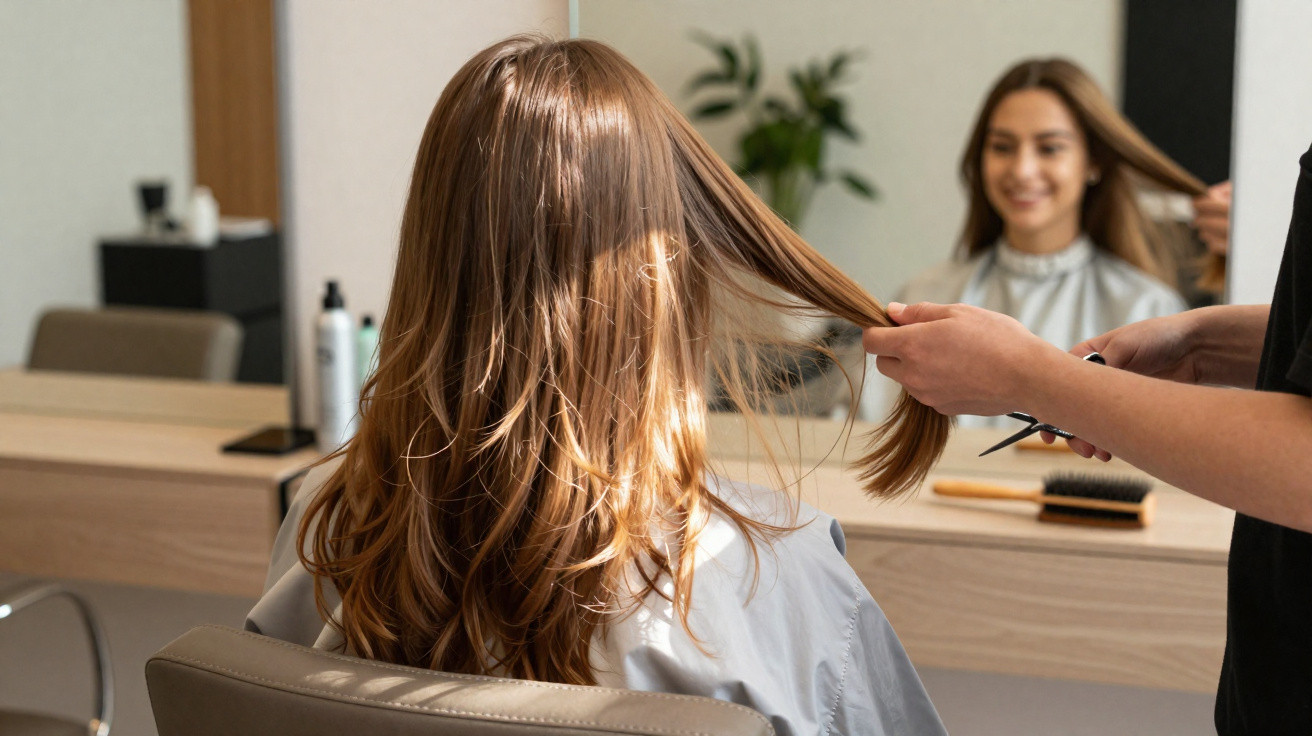
Hairdressers understand this, which is why your roots look so full of life when you leave the salon. However, you seldom notice what their hands are doing while your head is bent forwards and they work at the back. The key work is done before the round brush comes anywhere near your hair.
Speak to others and the same experience comes up repeatedly. A 31-year-old marketer from London put it well: “I could never recreate salon volume, so I just assumed my hair was ‘naturally flat’. Then one hairdresser dried my hair almost upside down and used barely any product. I walked out feeling like I’d stolen someone else’s hair.”
Social-media figures point in the same direction. Guides to “root volume without products” attract millions of views, considerably more than clips about detailed braids or colour trends. People are not looking for elaborate hairstyles. They are after that discreet lift which makes even a simple cut seem costly.
On an early-morning commuter train, it is often possible to spot someone who had the “good blow-dry” the previous day. Their hair is not enormous. It simply holds at the crown instead of collapsing, even beneath a scarf or hood. There is no evident backcombing or visible powder - only a subtle, persistent bounce.
There is an uncomplicated explanation: crown volume depends on direction and tension, not on piling on product. As hair dries near the scalp, it effectively “learns” to remain in that flat position. Wet hair resembles soft metal: after cooling, it holds the shape in which it was set. If your roots dry pressed to your head, no amount of mousse will correct that for very long.
Turn the airflow around and you stop working against your hair. Instead, you alter its initial position. Raising the roots as they dry creates a slight, unseen curve away from the scalp in every strand. That curve is what delivers longer-lasting lift at the crown.
Another error is concentrating on smoothing the lengths while the roots remain drenched. The crown dries more quickly than you may realise. Miss it at the beginning and you have already lost your chance. The time available to influence how your roots behave for the rest of the day is extremely limited.
The blow-drying technique that subtly transforms your crown
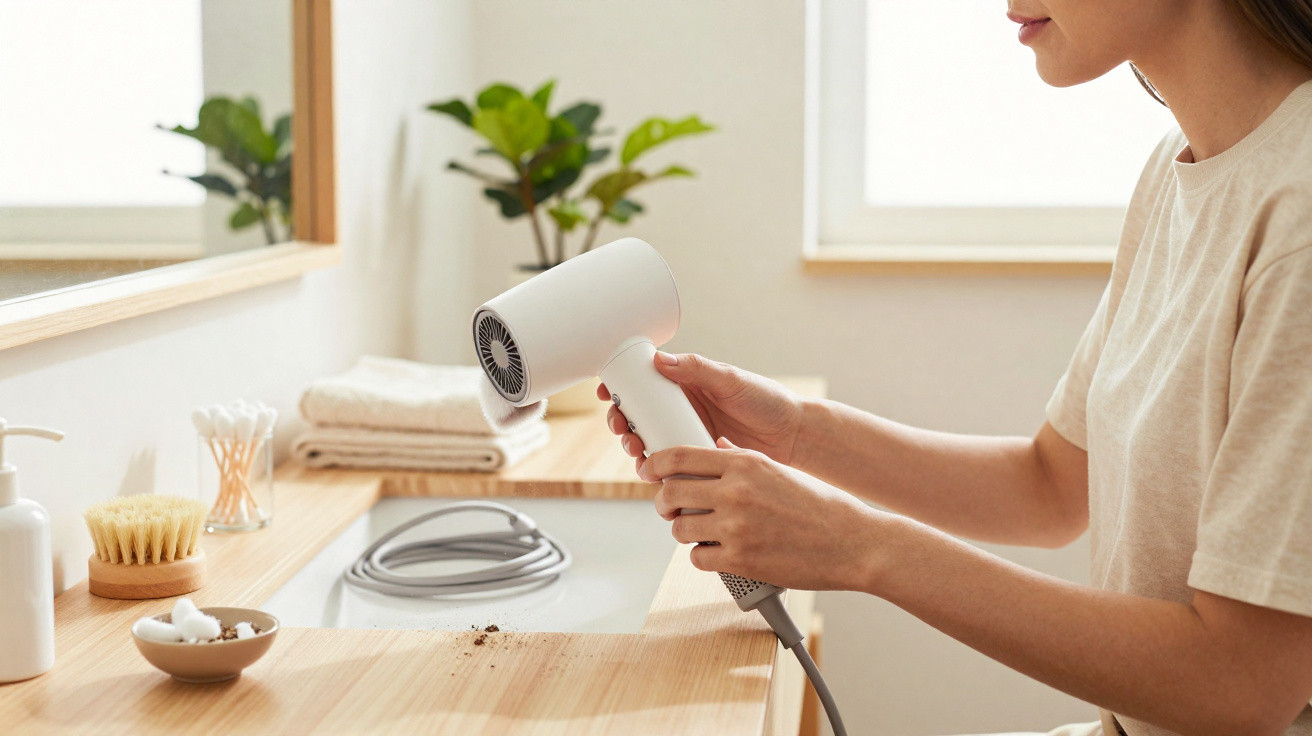
This is the method hairdressers depend on but seldom set out step by step. Begin with towel-dried hair: it should not be dripping, but it should not be nearly dry either. Switch on your dryer and set the round brush aside for the moment. Initially, all you need are your fingers and your dryer’s nozzle.
Bend your head so that the crown becomes the highest point. Picture yourself nodding forwards to read something on your shoes. Next, use your fingers as a comb to raise small crown sections directly upwards from the scalp. As you hold them aloft, aim the airflow upwards from beneath towards the roots, keeping the dryer in continual motion.
Change the direction of the hair as it dries: lift one small section and guide it a little forwards, then lift the following one and guide it slightly backwards. You are not styling at this stage; you are preventing the hair from “remembering” a straight, downward and flat direction. Get this area at least 80% dry before you start styling the rest.
Here is what people seldom say openly. Most of us are weary, rushed and thinking about something else when we pick up the dryer. For speed, we blast all our hair in a single direction, then question why it looks limp and severe. Let’s be honest: nobody really does this every day.
If blow-drying upside down each day feels excessive, reserve it for occasions when you want to feel a little more polished. Think weddings, important meetings or first days back in the office. Five attentive minutes spent on the crown at the beginning are more valuable than any costly volumising mist applied at the end.
One frequent mistake is drying the lengths too much while leaving the roots insufficiently dry. Another is holding the dryer too close to the scalp on its highest setting. That is when breakage and frizz begin to appear. Position the nozzle roughly a hand’s width away, select medium heat and keep it moving. Treat it as warm air rather than a concentrated heat laser.
One Paris stylist described it like this:
“Volume doesn’t come from products. It comes from respect for the root. If the root dries against the scalp, it will spend all day trying to go back there.”
That sentence reframes the entire discussion. Rather than trying to create lift with weighty sprays, you alter the original shape and require far less product afterwards.
For an easy reminder next time you use your dryer, keep this short checklist in mind:
- Start with the crown rather than leaving it until last.
- Tilt your head slightly forwards, with the crown at its highest point.
- Lift small sections straight up from the scalp with your fingers.
- Blow air up from beneath the roots, constantly moving the dryer.
- Allow the hair to cool in its raised position before smoothing the lengths.
When you have mastered the technique, you may discover that you need only the lightest puff of spray at the end, if anything at all. The volume feels naturally built in instead of obviously sprayed on.
Living with real hair rather than “photo hair”
There is something quietly freeing about mastering a technique that does not depend on shelves full of products. You begin to regard your own hair as manageable rather than “difficult”. The crown, once the weakest part of your hairstyle, can become the feature that rescues your entire look on a tiring day.
In reality, hair with a little movement - hair that occasionally drops back across your face - can often look more expensive than styles made rigid with spray. Once the crown has gained that first lift from the blow-dry, you can tuck your hair behind your ears, put it into a low ponytail or leave it loose beneath a coat hood while still retaining some life at the top.
Whether you are on a packed bus, walking along a windy promenade or standing beneath fluorescent office lights, a gently lifted crown suggests energy. It is not perfection; it is presence. That can change how you view your reflection in passing windows.
| Key point | Detail | Benefit for the reader |
|---|---|---|
| Work on the crown first | Dry the roots at the top while they are still very damp | Volume lasts longer without touch-ups or heavy hairspray |
| Direct air from underneath | Dry the roots while lifting them with your fingers, rather than flattening them downwards | Natural lift at the crown, without backcombing or sticky mousse |
| Let hair cool in its “lifted” position | Do not immediately lay the sections flat after drying | Volume remains in place even after styling or brushing |










Comments
No comments yet. Be the first to comment!
Leave a Comment